Friday 20 December 2019

Colourblast - Love Rocks

Hi it's Michelle back again, this time with a cute little canvas I made (hopefully for a Xmas prezzy as long as they don't see this post lol)

I started off by priming the canvas with White Heavy Gesso.


I added some moulding paste through a Dina Wakely stencil. After that, I added a couple of extra smears to give some more texture. Let it dry thoroughly at this stage.


I sprayed the canvas with water, and sprinkled some Colour Shimmer Dust - just a very little! - near the edges. I sprayed water again from the sides, so that the colour was heavier towards the outside. I used Amber, Peacock and Duke.
 I felt it needed to be a little stronger once it was dry, so I added a little more of each...

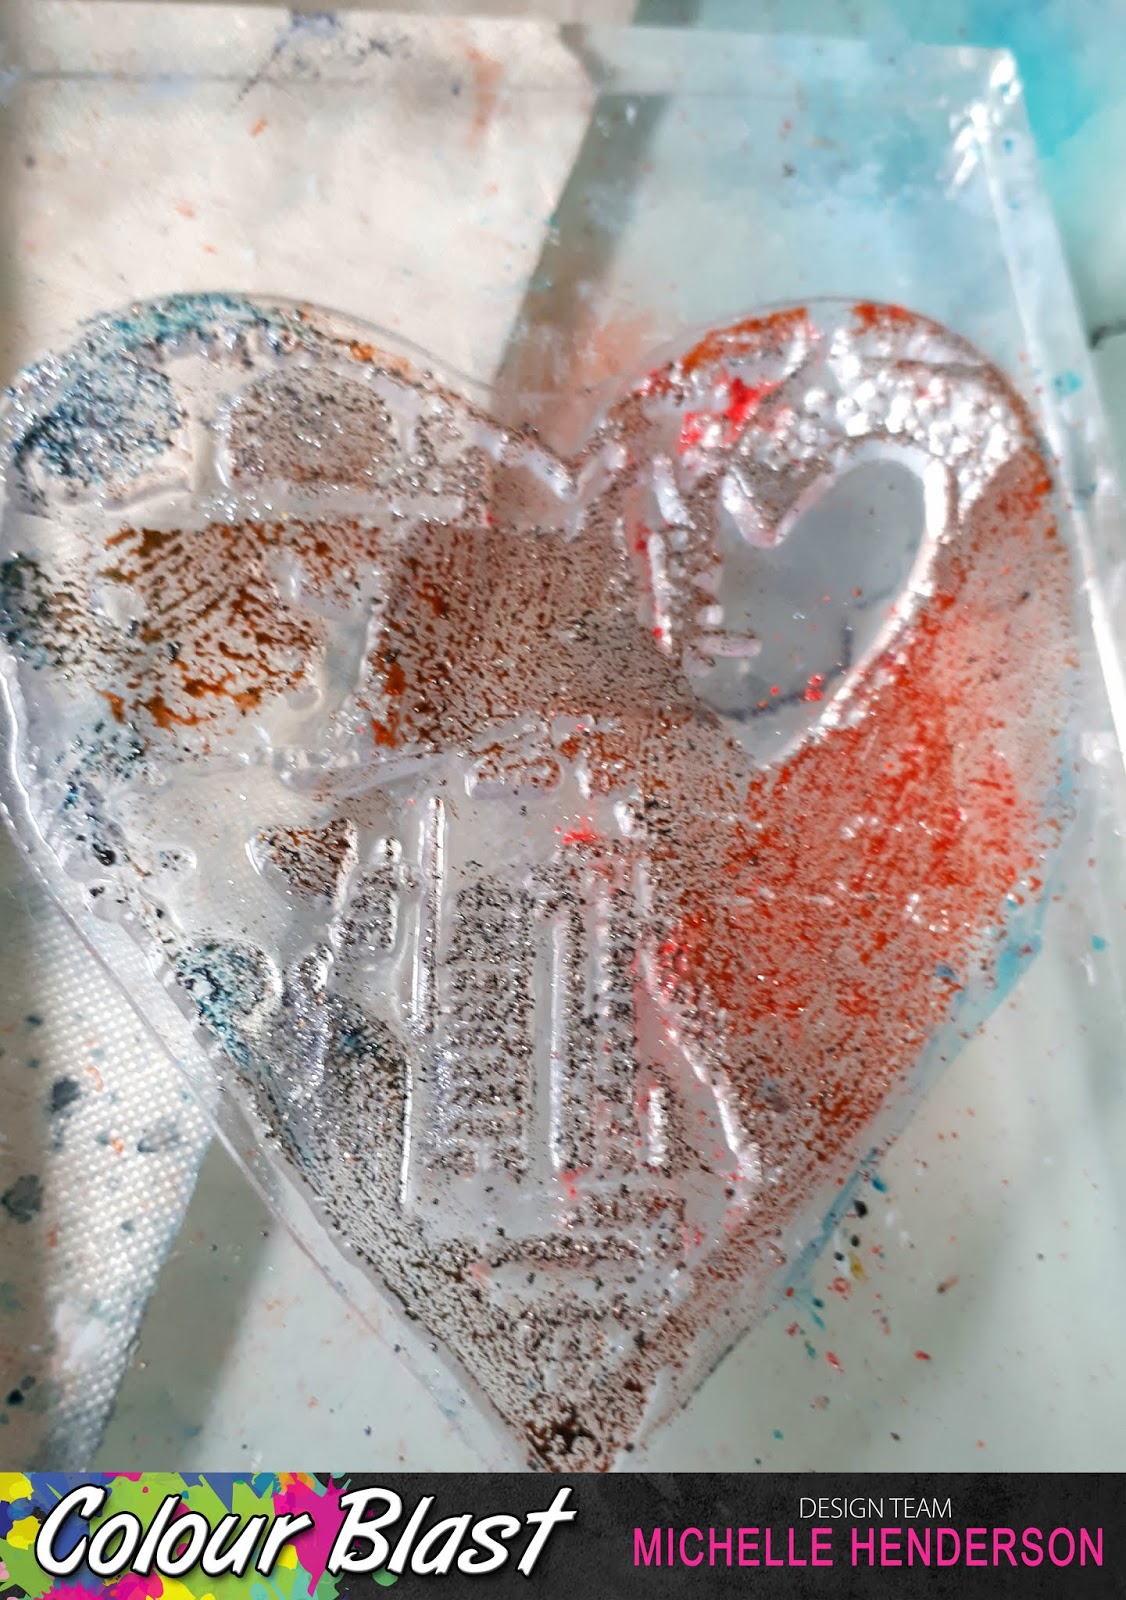
 Once that was dry, I grabbed the stamps that came with the stencils. I used an embossing ink pad, and then brushed a little Colour Shimmer Powder in Amber and Duke. I sprayed it lightly with water and then stamped it on the canvas. To make sure it works, I needed to use a second stamp block behind the canvas so there was a surface to press on.

Ahhh! I think it was too heavy, but not to worry 😉

Next time I used the Amber and Peacock, and even less powder...
See how little I used?

It came out much better this time.
Once it was dry again, I went over some of the stamping with black archival ink.

Some close ups...
 I used my Posca pens to add some highlights and scribbled words here and there...

At the end, I added some strips with stamped sentiments, and that was that!

Hope you like it!


Colourblast - Be Happy

Hi Colour Blast fans!

I was looking back through some old photos and decided I really wanted to scrap this cute little photo that is almost 8 years ago 💓

I also wanted to try something new (for me anyway) which is actually quite an old technique, with a slight twist.

Here's a little preview, can you guess what I did?


Firstly I chose 3 beautiful Colour Artist Inks, Calypso, Citrus and Slipper and brushed on sections using a soft brush. As I was using heavy card I didn't put any gesso on first.


 I then made a stamp pad by folding some paper towels and soaking them in bleach. I used a little clear stamp and pressed it on to my (smelly!) pad and carefully dabbed the excess off the block before I stamped on to the inks.

I love the way it worked! It took a few minutes to fully develop, and some were less distinct than others, which I didn't mind at all 😀


Then I used the same stamps and painted a little of the same inks on them and stamped around the painted areas. After that I stamped some more flowers with black archival ink.

Just because I could, I splattered a some Black Heavy Gesso around 😀

Time to put the rest of my layers and embellies together!
Some close ups...


And the full layout...


So get into the laundry and find that bleach!


Colourblast - Vision

Hi Colour Blast fans!

I had fun making this really quick Art Journal page, using lots of Colour Blast Australia products...I find that when I get in a rut with scrapbooking, this always fires things up again 😀

Here's a sneaky wee pic


I had just received some awesome Visible Image stamps and stencils, and I couldn't wait to use them..so I started this page with one of the stencils, along with a couple of other ones I've had for a while.


I had already pre-gessoed my journal (which is an old reference book), and used the Tim Holtz stencils along with modelling paste around the edges of my page.


Once the paste was dry, I sprayed it with water, then started dropping little bits of Colour Shimmer Dust in Sunflower, Paris, Passion, Lush, Peacock, and Cobalt. It needed a little more water sprayed and I moved the page around to make it flow. My fave patch is where the Sunflower was next to Passion 😍


Once that part was dry, I used the Visible Image stencil and Colour Paste in Dusty Charcoal on the left hand page, then wiped it, flipped it and re-did it on the right hand page.


I was almost tempted to leave it at this...


But then I got out my White Heavy Gesso and double-coated inside the eyes.


And then I used Colour Artist Ink in Calypso and Marine for the irises.


I added some stamping, and some Shimmer Cube in Bling - but that wasn't enough, so I drybrushed some Colour Paste in Bling over the highlights too - look at that sparkle!!


Finally I added a quote from Pinterest that I love, and here's the finished page 😃


Thanks for visiting - I hope I've inspired you to go have a play 😀